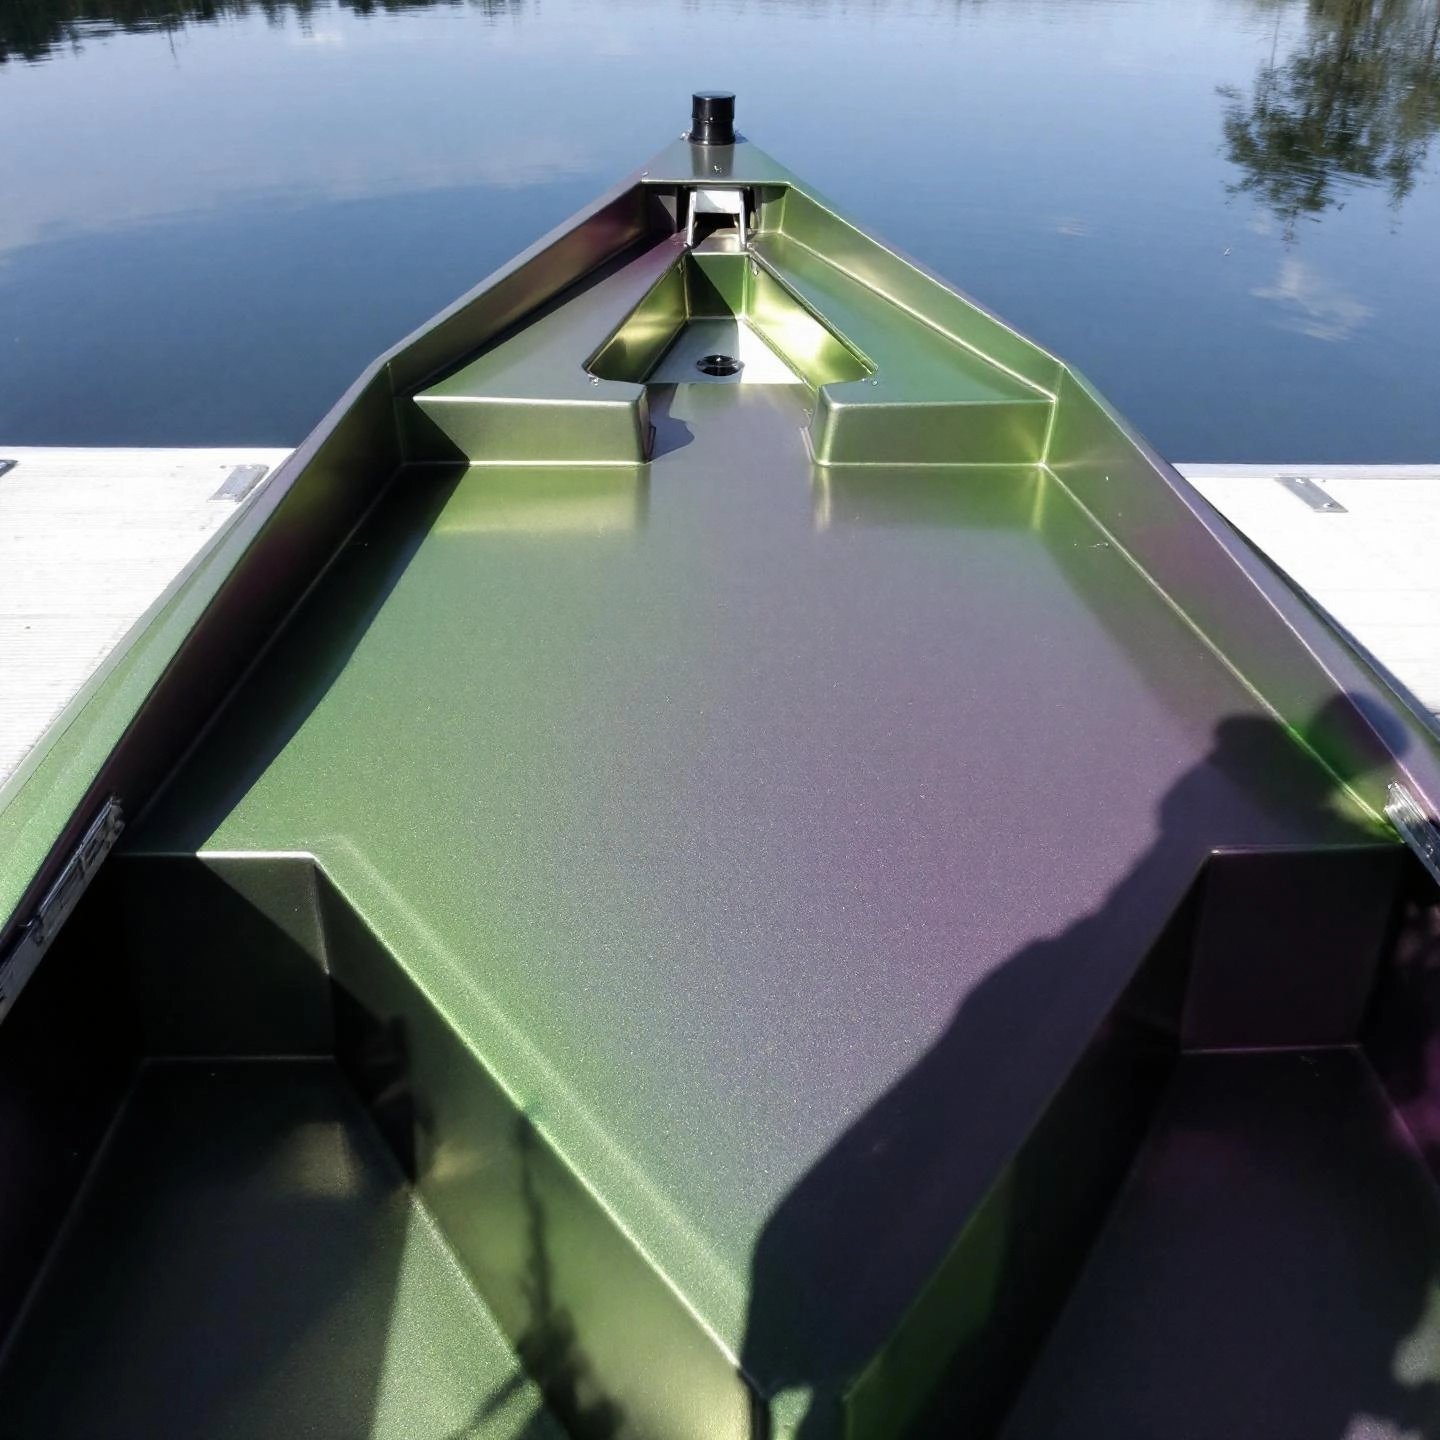
When you picture a freshly painted aluminum boat gliding across the water, it’s easy to focus on the sleek look and vibrant color. But have you ever wondered why painting an aluminum boat is more than just a cosmetic upgrade? Imagine leaving your vessel exposed to the harsh marine environment—saltwater, sunlight, and constant moisture. Without the right protective coating, even the toughest aluminum will eventually show signs of wear, corrosion, and reduced performance.
Aluminum boat paint serves a dual purpose: it not only enhances the appearance of your boat, making it stand out on the water, but also acts as a vital barrier against the elements. This protective layer helps prevent marine growth, reduces drag, and shields the hull from the damaging effects of corrosion and oxidation. In fact, proper painting is a key factor in maintaining your boat’s value and extending its lifespan, ensuring that your investment continues to deliver adventure and enjoyment for years to come.
Sounds complex? Painting aluminum is not as straightforward as working with fiberglass or wood. Aluminum’s unique surface chemistry—its tendency to form a tough oxide layer and its non-porous nature—means that regular paints often fail to adhere properly or protect the hull over time. This is why specialized aluminum boat paint and dedicated primers are essential for a lasting, flawless finish.
In this comprehensive guide, you’ll discover the science behind aluminum boat paint, how to avoid common pitfalls, and the best practices for achieving a stunning, long-lasting finish. Whether you’re restoring an old favorite or protecting a brand-new vessel, understanding the right approach to painting an aluminum boat will help you maximize both beauty and performance on the water.
Ever tried painting an aluminum boat only to see the finish flake off after a season? If so, you’re not alone. Painting aluminum isn’t like painting wood or fiberglass—and the reasons go deeper than you might think. Let’s break down the science and practical realities that make aluminum hulls a unique challenge, and why using the right products is essential for lasting protection.
When aluminum is exposed to air, it instantly forms a thin, invisible layer of aluminum oxide. This natural process actually helps protect the metal from further corrosion, but it also creates a surface that’s notoriously difficult for regular paints to stick to. Imagine trying to paint over glass—the non-porous, slick oxide layer acts as a barrier, causing standard coatings to peel or blister with time and exposure.
Now, let’s talk about another major concern—galvanic corrosion on aluminum boats. When aluminum comes in contact with other metals (like steel fasteners) in the presence of water, an electrochemical reaction can occur. This process, known as galvanic corrosion, causes the aluminum to sacrifice itself, corroding much faster than it would on its own. Saltwater environments make this even worse, but freshwater boats aren’t immune either.
So, what happens if you use off-the-shelf paint? Here’s what you’ll notice:
| Problem | Result |
|---|---|
| Poor adhesion due to oxide layer | Peeling, flaking, and blistering of paint |
| Insufficient barrier against corrosion | Rapid onset of pitting and galvanic corrosion |
| Non-marine-grade formulation | UV breakdown, color fading, and loss of protection |
To overcome these challenges, professional boat builders and restorers rely on marine-grade paints and primers engineered specifically for aluminum. These coatings are designed to bond with the oxide layer and provide a durable, impermeable shield against water and corrosion. For instance, high-quality aluminum profiles—like those produced by manufacturers such as Shengxin Aluminum—require tailored coating solutions to maintain their integrity and performance in harsh environments. Using the right primer and topcoat ensures that both the beauty and structural strength of your boat are preserved for years to come.
Understanding these underlying issues is the first step to selecting the best aluminum boat paint system. Next, we’ll explore how to choose the ideal paint for your needs, comparing the most effective options for lasting results.
When you start searching for the best paint for your aluminum boat, the variety of choices can feel overwhelming. Do you need something super-tough for saltwater? Or maybe you want a paint that’s easy to apply for a DIY weekend project? Let’s break down the three main types of marine paint for aluminum—two-part polyurethane, two-part epoxy, and one-part enamel—so you can make the right call for your boat and boating style.
Imagine you want your vessel to look sharp season after season, or maybe you’re focused on quick touch-ups before the next trip. Each paint type brings its own strengths and trade-offs. Here’s how they stack up:
| Paint Type | Durability | UV Resistance | Color Retention | Application Ease | Best For |
|---|---|---|---|---|---|
| Two-Part Polyurethane | Excellent (high gloss, tough finish) | Superior | Outstanding | Challenging (requires mixing, careful prep) | Long-term, professional-grade results |
| Two-Part Epoxy | Very High (chemical & abrasion resistant) | Good | Good | Moderate (mixing required, but forgiving) | Heavy-duty protection, harsh environments |
| One-Part Enamel | Moderate (easy to touch up) | Fair to Good | Good | Simple (brush, roll, or spray) | DIYers, budget-friendly projects |
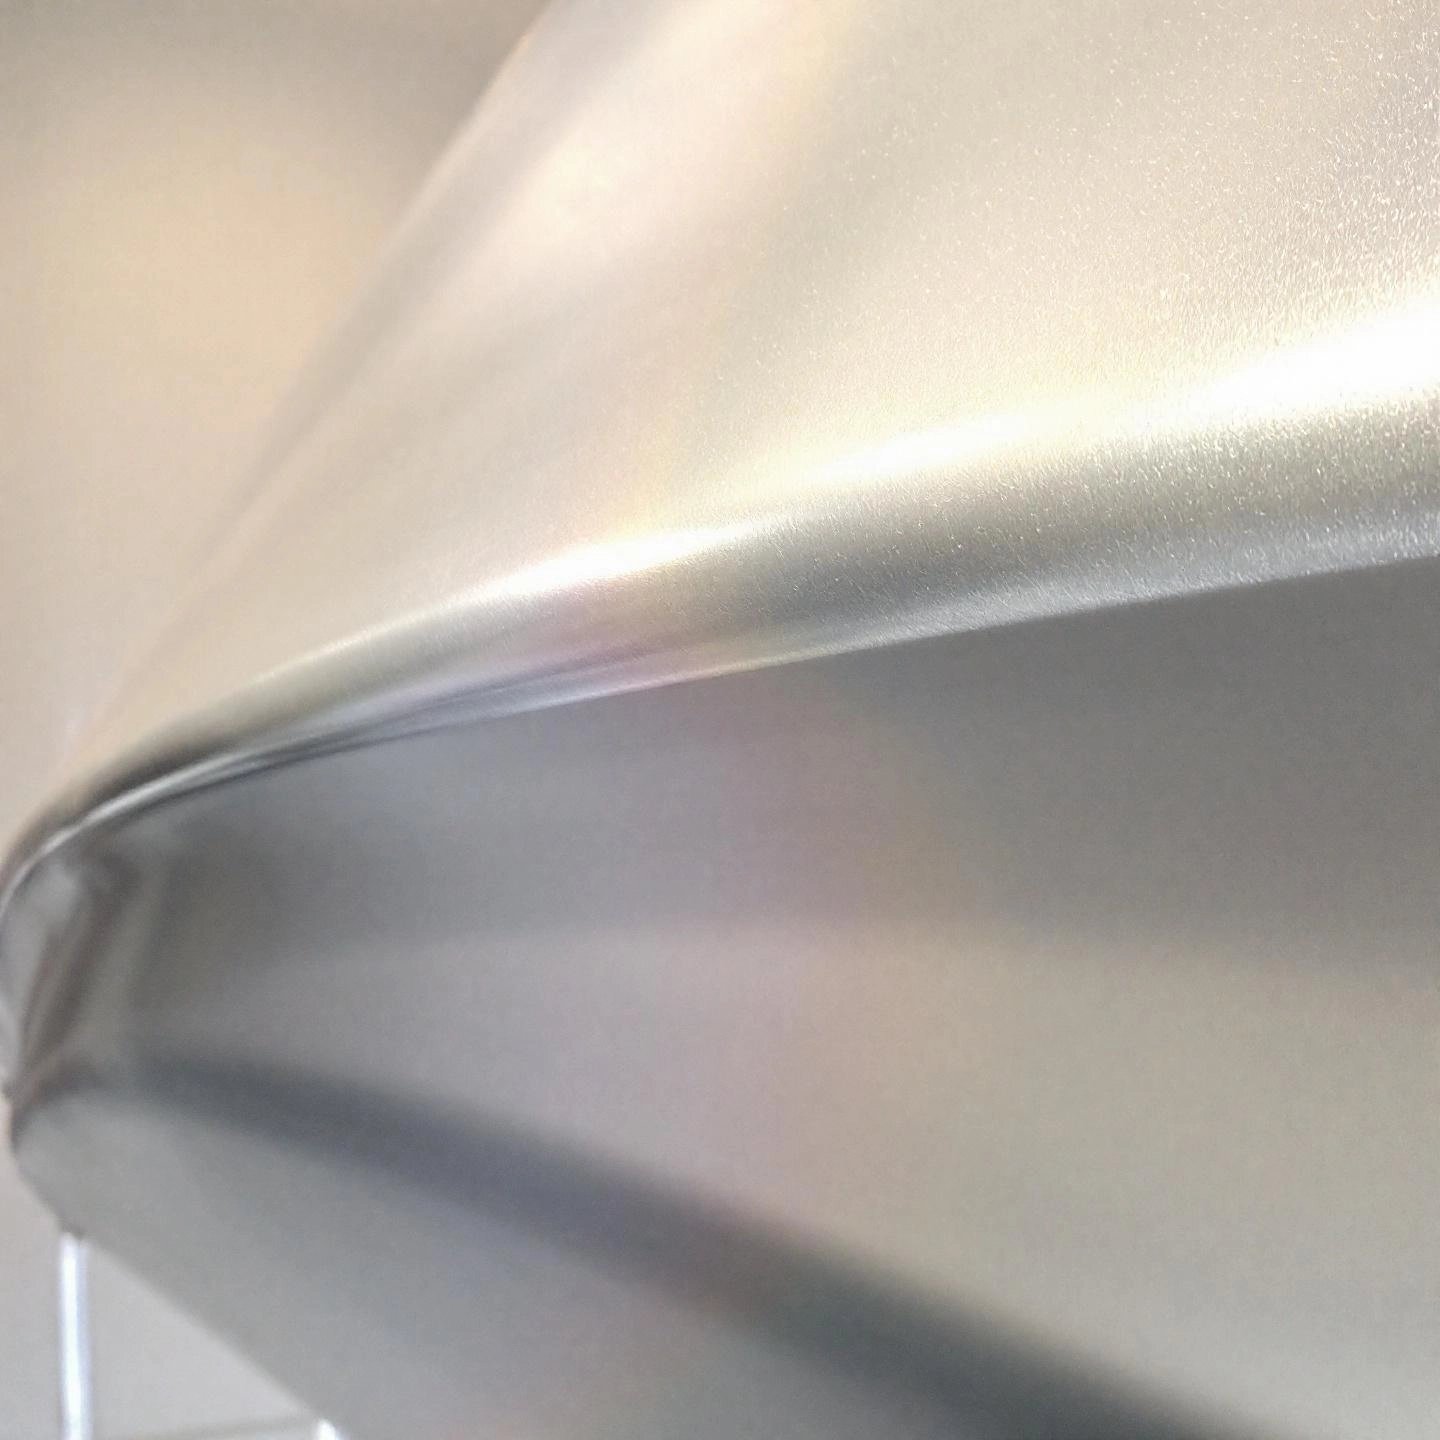
Looking for a finish that shines like new for years? Two-part polyurethane paints deliver a hard, glossy surface that resists scratches, UV rays, and fading. They’re the gold standard for boaters who want a showroom look and aren’t afraid of a bit more prep work. The downside? Application can be tricky—mixing components and precise surface prep are a must. But if you want your aluminum boat to turn heads and withstand serious sun, this is a top contender.
When protection takes priority—think working boats, harsh saltwater, or frequent trailering—two-part epoxy paints are a smart pick. They’re renowned for their chemical and abrasion resistance, making them ideal for high-impact areas. While not as glossy as polyurethanes, they bond strongly to properly primed aluminum and shrug off tough conditions. You’ll need to mix components and follow instructions carefully, but the payoff is a rugged, long-lasting finish.
Maybe you’re after a fast, budget-friendly solution. One-part enamels—like Diamond Brite or Duralux—are popular for their ease of use. No mixing required; just open the can and brush, roll, or spray. They’re great for interior surfaces, quick touch-ups, or if you’re repainting on a regular schedule. While not as tough as two-part systems, they still offer good color retention and are available in a wide range of colors (JD Power).
Choosing the right marine paint for aluminum isn’t just about price or color—it’s about matching the paint’s strengths to your boating lifestyle. In the next section, we’ll reveal why primer is the secret weapon for a paint job that truly lasts, and how it ties into the advanced engineering seen in high-quality aluminum products.
Ever wonder why some aluminum boat paint jobs peel or bubble after just one season, while others look flawless for years? The answer often comes down to one critical step: using the right aluminum boat primer paint. Before you even think about opening a can of topcoat, it’s essential to understand what makes priming aluminum so different—and why skipping or choosing the wrong primer can sabotage your hard work.
Imagine trying to stick a decal onto a dusty window. No matter how fancy the sticker, it won’t stay put unless the surface is properly prepared. Aluminum presents a similar challenge. Its natural oxide layer, formed instantly when exposed to air, is slick and non-porous. Regular primers or paints simply can’t grip it for long. That’s where a dedicated aluminum primer comes in—it creates a strong bond between the metal and your chosen paint, locking in durability and protection.
Not all primers are created equal. When it comes to aluminum, two main types stand out: self-etching primer for aluminum and two-part epoxy primers. Each has its own strengths, and the best choice depends on your project and expectations.
| Primer Type | How It Works | Best For | Key Advantages |
|---|---|---|---|
| Self-Etching Primer | Uses acids to microscopically "etch" the aluminum surface, promoting adhesion | Small projects, touch-ups, or as a first step before other primers | Quick drying, easy to use, excellent initial grip on bare metal |
| Epoxy Primer | Forms a tough, protective barrier that bonds strongly with both aluminum and paint | Full boat repaints, harsh marine environments, long-term protection | Superior adhesion, outstanding corrosion resistance, very durable |
You might wonder: Can’t I just use any primer? The answer is a firm no. Only primers formulated specifically for aluminum will deliver the adhesion and protection you need. These products are engineered to handle the unique surface chemistry of aluminum—something generic primers can’t match. For example, advanced extruded aluminum products, like those produced by leading manufacturers such as Shengxin Aluminum, require coatings tailored to their precise surface properties to maintain performance and longevity in demanding environments.
In summary, investing in a proper aluminum boat primer paint isn’t just good practice—it’s the foundation for a paint job that stands up to the elements and the test of time. With the right prep, your aluminum boat will not only look stunning but also stay protected for seasons to come. Next, we’ll walk through the entire painting process, step by step, so you can put your primer knowledge into action for a flawless, professional result.
Ever wondered how to paint an aluminum boat and achieve a finish that rivals the pros? Whether you’re restoring a cherished vessel or giving your fishing boat a fresh look, the painting process for aluminum boats demands careful preparation and the right techniques. Sounds complex? Don’t worry—breaking the job into clear, actionable steps makes even a big project feel manageable. Let’s walk through the process, from the first wash to the final cure, so you can confidently transform your boat’s appearance and protection.
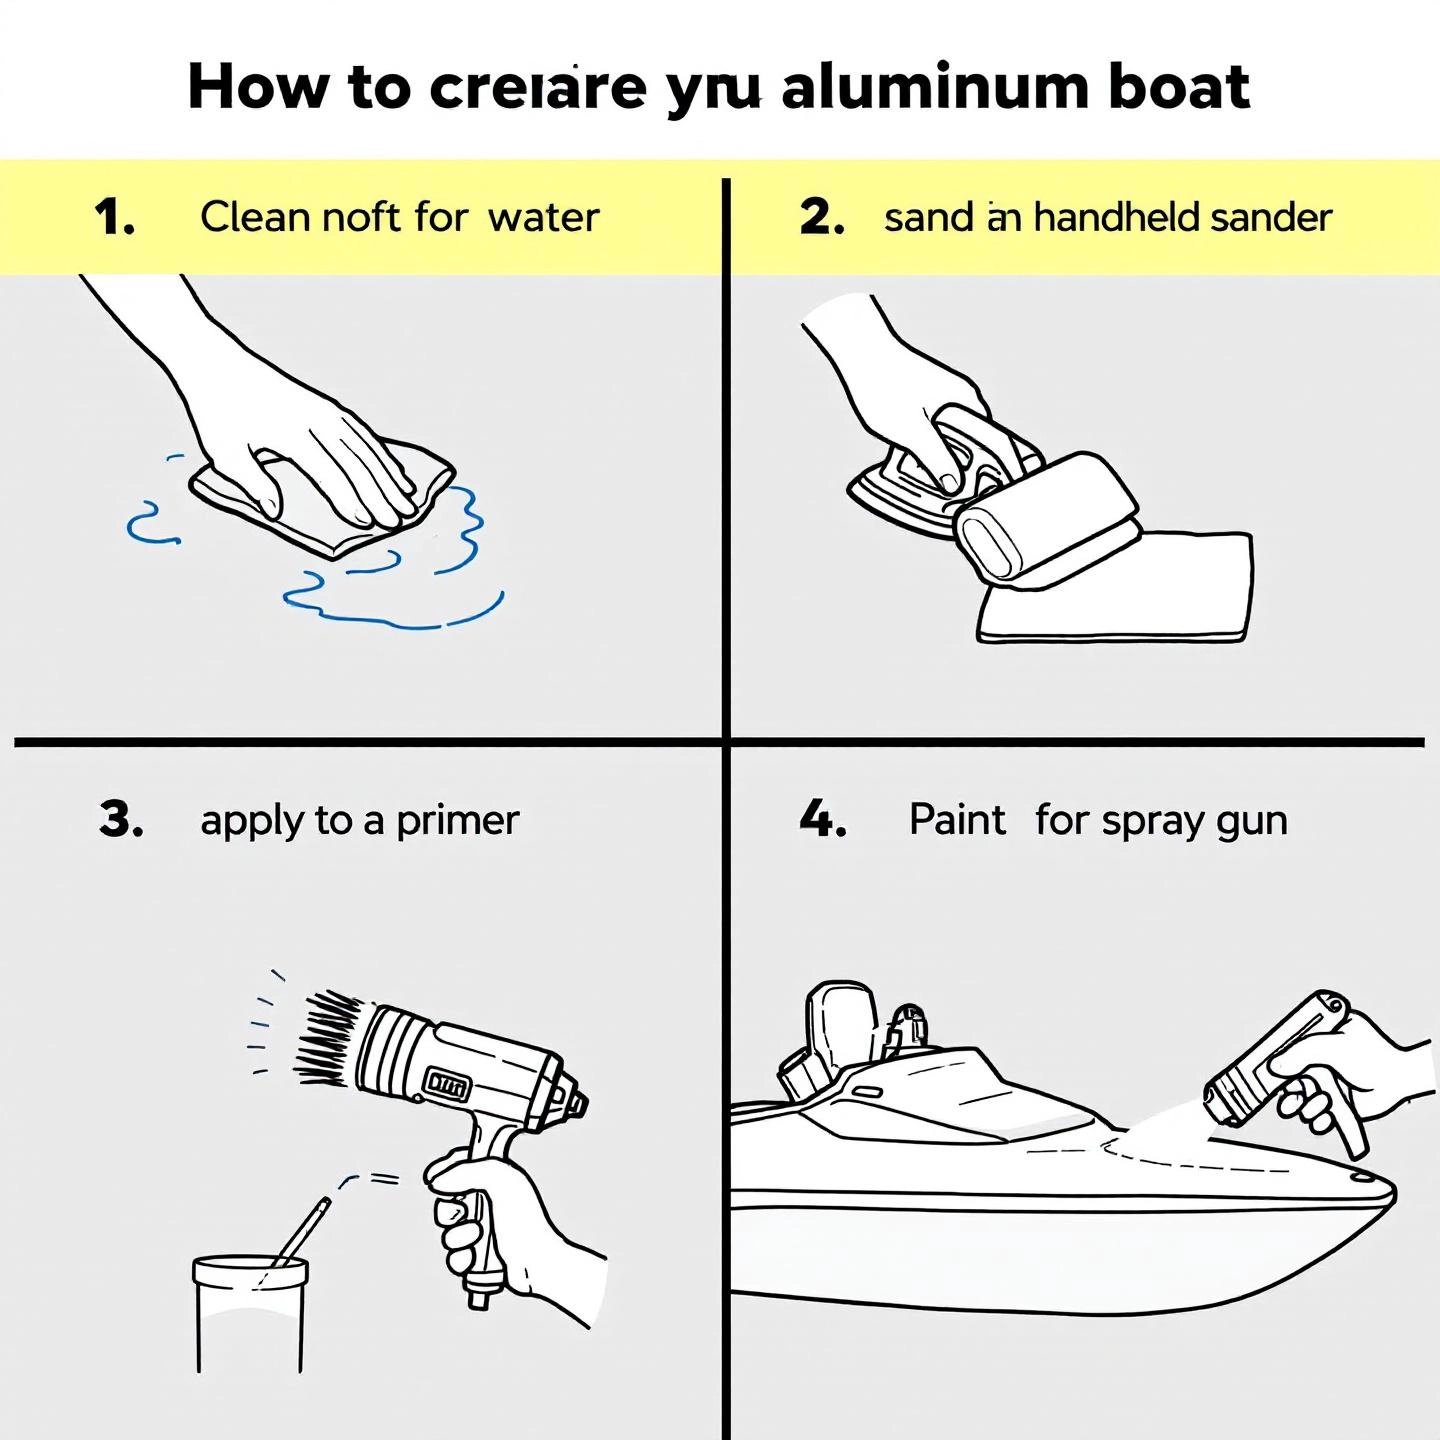
Imagine trying to paint over dirt or grime—the result would be patchy and short-lived. Start by giving your boat a deep clean using a specialized aluminum boat cleaner. This removes not just visible dirt, but also oxidation and any lingering contaminants. Follow the cleaner’s instructions and rinse thoroughly. Allow the hull to dry completely before moving forward (GetMyBoat).
Aluminum’s smooth, non-porous surface is a challenge for paint adhesion. Sanding is essential for a long-lasting finish. Start with 80-grit sandpaper to remove oxidation and any old paint. For a smoother result, follow up with 220-grit sandpaper on bare metal. This step roughens the surface just enough for primer and paint to stick effectively.
After sanding, your boat will be covered in fine dust. Any residue left behind can ruin the paint job. Wipe down the entire surface with a tack cloth or clean microfiber towel to ensure a spotless, dry surface.
Before you reach for the primer, carefully mask off trim, hardware, or any areas you want to keep paint-free. Use quality painter’s tape for crisp lines and consider plastic sheeting or drop cloths to protect larger sections (BoatLife).
Now comes the step that makes or breaks your paint job: priming. Use a marine-grade aluminum primer—either self-etching or epoxy, depending on your project. Apply with a brush, roller, or sprayer, working in thin, even coats. Let the primer dry fully as instructed by the manufacturer before moving on.
With the primer set, it’s time to apply your chosen aluminum boat paint. Use a high-quality marine paint designed for aluminum. Work in small sections, using a brush, roller, or spray gun. Apply at least two thin coats, allowing each to dry completely before the next.
For maximum durability and shine, finish with a clear marine sealer or topcoat. This adds an extra protective layer against UV rays, abrasion, and water. Apply the sealer as you did the paint, and allow the boat to cure in a dry, dust-free area for the time recommended by the manufacturer.
| Step | Key Action | Pro Tips |
|---|---|---|
| 1. Cleaning | Remove dirt, oxidation, and residues | Use marine-grade cleaner, dry thoroughly |
| 2. Sanding | Roughen surface for adhesion | Start with 80-grit, finish with 220-grit |
| 3. Final Cleaning | Wipe away all dust | Use tack cloth, check seams and rivets |
| 4. Masking | Protect areas not being painted | Quality tape for crisp lines |
| 5. Priming | Apply marine aluminum primer | Even, thin coats; let dry fully |
| 6. Painting | Apply 2+ coats of marine paint | Thin layers, sand between coats |
| 7. Sealing/Curing | Seal with clear topcoat and cure | Allow full drying and hardening |
By following these steps, you’ll not only enhance your boat’s look but also extend its lifespan. Remember, patience and attention to detail at each stage are the keys to a professional, long-lasting result. Up next, we’ll dive into the special requirements for painting below the waterline—where protection matters most.
When you picture your boat resting at the dock or slicing through the water, do you ever think about what’s happening beneath the surface? The part of your hull below the waterline faces constant attack from algae, barnacles, and other marine organisms. Without the right aluminum boat bottom paint, these invaders can quickly degrade performance, increase fuel consumption, and even damage the hull. So, what makes painting below the waterline different—and how do you ensure lasting protection?
Unlike topside paint, which focuses on aesthetics and UV resistance, anti-fouling paint for aluminum boats is all about defense. Its job? To prevent the stubborn build-up of marine growth that can turn a sleek hull into a sluggish, fouled surface. But here’s the catch: not all bottom paints are safe for aluminum. In fact, the wrong choice can do more harm than good.
Imagine painting your hull, only to discover bubbling paint and white, powdery corrosion within months. That’s what can happen if you skip the right prep or use incompatible products.
So, what should you look for in a bottom paint? Let’s break it down:
| Type | Key Features | Best Use |
|---|---|---|
| Micron CF (Copper-Free) | Uses Biolux® and Econea™ for multi-season slime and barnacle protection; self-polishing, reduces friction and paint build-up | All waters, multi-season use |
| Trilux® 33 | Contains cuprous thiocyanate (safer for aluminum), Biolux® for algae/slime, requires primer for aluminum hulls | Salt, fresh, or brackish water |
| Pacifica Plus | Dual biocide, copper-free, ablative action, improves fuel efficiency, uses less active biocide | All types of boats, eco-friendly option |
These products are engineered for use on aluminum and provide robust protection without the corrosion risk posed by traditional copper-based paints. Always confirm with the manufacturer that your chosen paint is aluminum-safe and VOC compliant for your area.
Ready to tackle the job? Here’s how the process stands apart from topside painting:
Unlike topside paints, anti-fouling coatings are designed to slowly wear away (ablative) or polish with use, continuously exposing fresh biocide to deter marine growth. This means less build-up over time and improved performance.
By using the right anti-fouling paint for aluminum boats and following a careful application process, you’ll keep your hull slick, protected, and ready for any adventure. Next up, we’ll share professional techniques for achieving a flawless finish that lasts above and below the waterline.
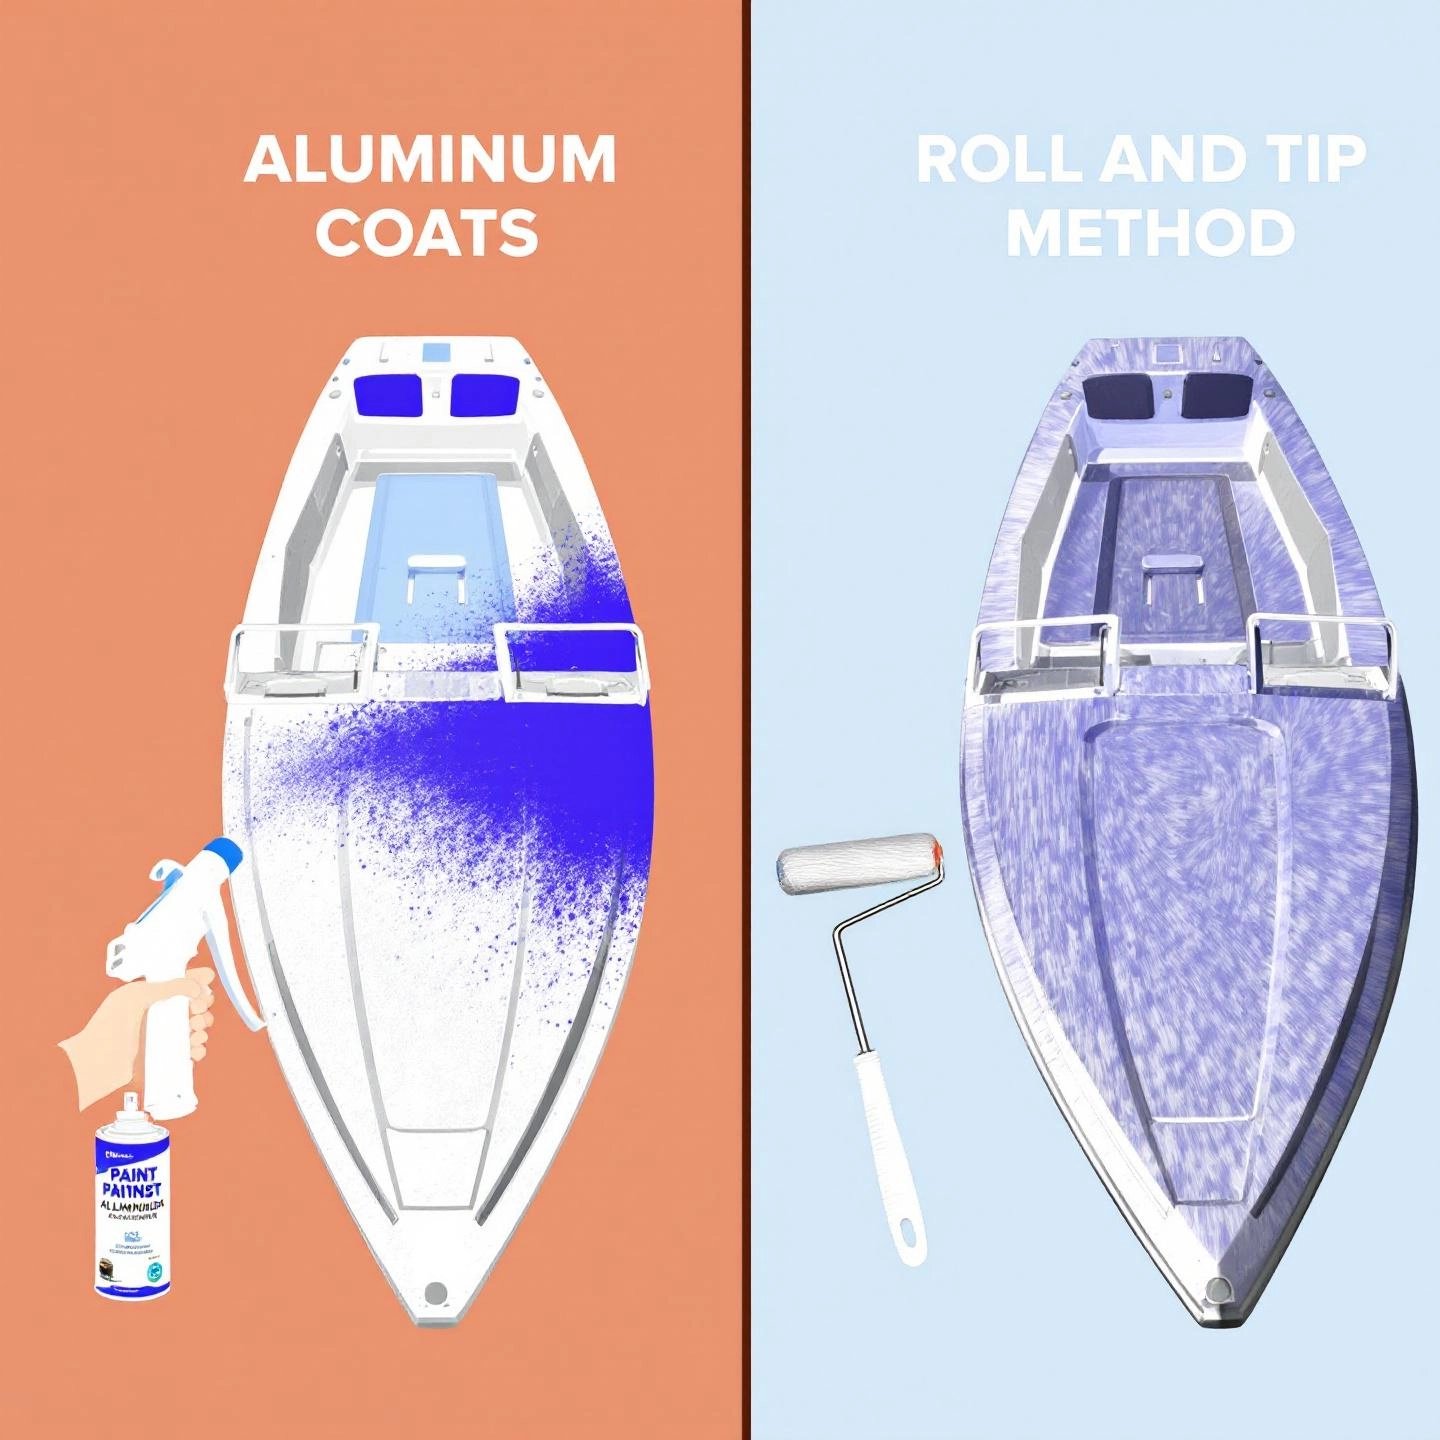
Ever wondered why some aluminum boats gleam with a mirror-like finish while others show brush marks or drips up close? The secret isn’t just in the paint—it’s in the application technique and the environment you choose for the job. Whether you’re aiming for a professional finish with aluminum boat paint or tackling your first DIY project, understanding your options and perfecting your approach can make all the difference. Let’s break down the two most popular methods—spray painting and roll-and-tip—and share insider tips for flawless results.
Imagine your boat’s hull reflecting the sky, with no visible texture or brush marks. That’s the hallmark of a well-executed spray job. Spray painting aluminum boat surfaces is the gold standard for professionals, delivering the smoothest, most uniform finish possible. But is it right for your project?
Pro tip: Maintain a consistent distance (typically 10-12 inches) from the surface and use overlapping passes, moving smoothly to avoid heavy spots. Always wear a respirator and ensure excellent ventilation.
Not ready to invest in spray gear or want to tackle the job in your own driveway? The roll-and-tip method is a proven DIY solution that can achieve surprisingly smooth results with practice. Here’s how it stacks up:
The basic process: Apply paint with a high-density foam roller in small sections, then immediately follow with a high-quality brush (the "tipper") to smooth out bubbles and roller marks. Work methodically and maintain a wet edge for seamless blending. With practice, many DIYers achieve results that rival professional spray jobs—especially when using modern marine paints that self-level for a glassy finish (The Hull Truth).
Even the best paint and technique can fall short if the environment isn’t right. Imagine painting on a humid or windy day—dust, bugs, or moisture can ruin your hard work. For a professional finish, always:
For a deeper dive into the importance of pre-coating and environmental control—especially for aluminum components—check out this comprehensive guide: Pre-Powder Coated Aluminum Square Tubing: Comprehensive Guide to Sizes, Costs, and Applications.
Remember, the most durable and attractive aluminum boat paint jobs combine careful preparation, the right technique, and attention to environmental factors. Up next, we’ll highlight common mistakes to avoid so your hard-earned finish stands the test of time.
Ever spent hours painting your aluminum boat, only to see bubbles, peeling, or dull spots appear within weeks? You’re not alone. Many boat owners fall into the same traps—often without realizing it until it’s too late. Let’s break down the most common aluminum boat paint mistakes and show you how to sidestep them for a lasting, professional finish.
| Mistake | Result | Prevention |
|---|---|---|
| Insufficient prep | Poor adhesion, peeling | Clean and sand thoroughly |
| Skipping primer | Flaking paint, corrosion | Always use aluminum primer |
| Thick coats | Runs, slow cure, bubbles | Apply thin, even layers |
| Poor weather | Dust, moisture, uneven finish | Paint in mild, dry conditions |
| Incompatible products | Cracking, rapid failure | Use compatible, marine-grade paints |
| Unsealed hardware | Corrosion at fittings | Seal with marine-grade sealant |
Imagine the satisfaction of a paint job that looks great and lasts for years—just by avoiding these common pitfalls. In the next section, we’ll cover how to maintain your new finish so it stays vibrant and protected, season after season.
Imagine stepping back and admiring your freshly painted aluminum boat, its colors gleaming in the sun. But here’s a question: how do you keep that flawless finish looking sharp for years, not just a single season? Maintaining aluminum boat paint isn’t complicated, but it does require consistent care and a few smart habits. Let’s break down the essentials so your investment stays protected and your boat turns heads every time it launches.
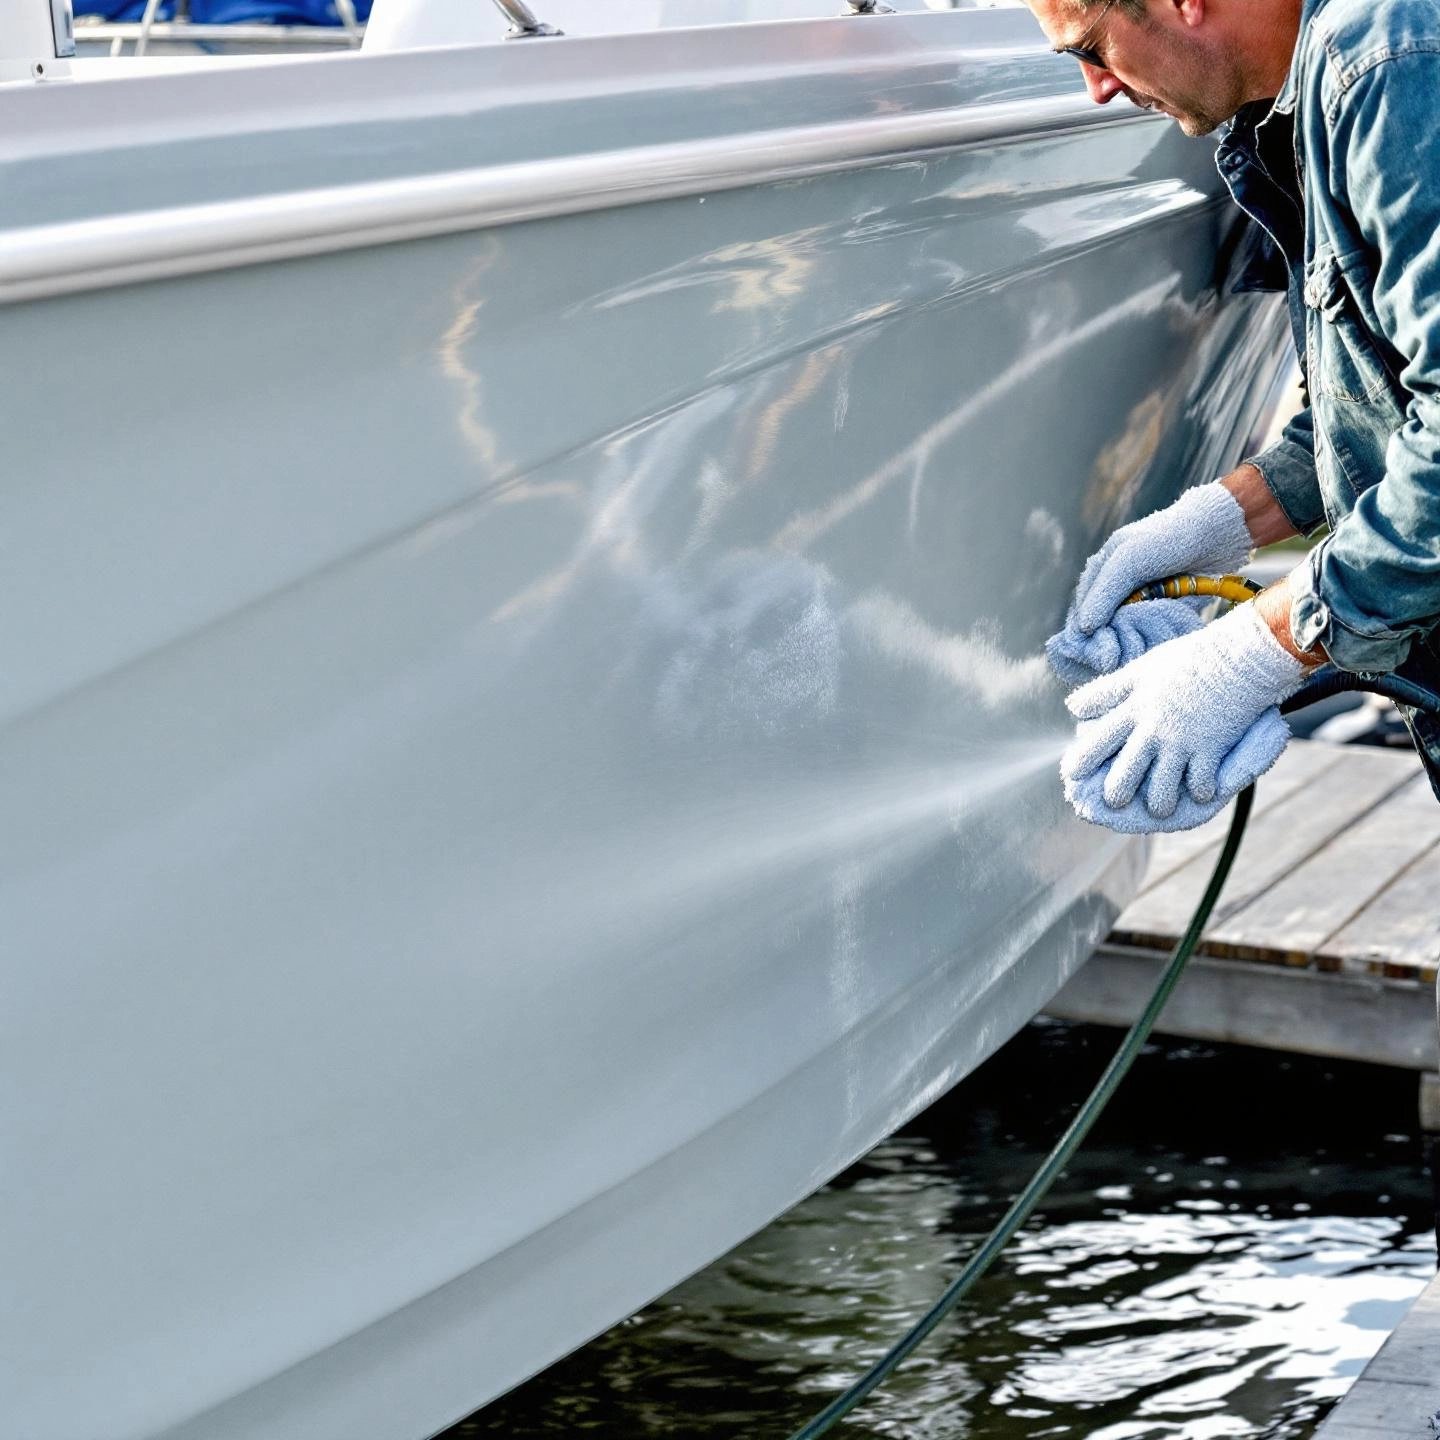
When you return from a day on the water, do you simply park your boat and walk away? Skipping regular cleaning is one of the fastest ways to dull your paint and invite long-term damage. Instead, after every outing—especially in saltwater—rinse the entire hull with fresh water. This simple step removes salt, grime, and organic debris that can accelerate paint wear and corrosion. Use a soft cloth or sponge and a mild, boat-safe cleaner to gently wipe down painted surfaces. Avoid abrasive pads or harsh household detergents, which can scratch or strip the finish.
Ever notice a small chip or scratch and think, "I’ll fix it later"? Even minor blemishes can expose bare metal, leading to corrosion under the paint. Make it a habit to inspect your hull for nicks, blisters, or abrasions after every trip. If you spot damage, clean the area thoroughly, lightly sand if needed, and apply a matching touch-up paint as soon as possible. This quick fix prevents water intrusion and keeps corrosion at bay, preserving both the look and structural integrity of your boat.
Did you know that UV rays can fade and weaken even the toughest marine coatings? To boost your aluminum boat paint care routine, apply a high-quality marine wax or UV protectant to topside paint at least once a year. This extra layer acts like sunscreen, helping your colors resist fading and your finish repel water spots and grime. Some manufacturers recommend specialized protectants over traditional wax to avoid reactions with certain paint types—always check your paint’s guidelines before applying.
| Task | Frequency | Purpose |
|---|---|---|
| Freshwater rinse after use | Every trip | Remove salt and grime |
| Gentle cleaning with approved products | Monthly | Preserve finish, prevent buildup |
| Inspection for chips or scratches | Every trip | Early damage control |
| Touch-up paint application | As needed | Prevent corrosion |
| Apply wax/UV protectant | Annually | Enhance shine, UV defense |
| Professional inspection | Annually | Catch hidden issues |
By building these habits into your boating routine, maintaining aluminum boat paint becomes second nature—and your boat stays beautiful and protected for years to come. Next, we’ll wrap up with a summary of the key steps and a few final words of encouragement for your restoration journey.
When you look back at your aluminum boat restoration project, what stands out? Is it the gleaming hull, the sense of accomplishment, or the peace of mind knowing your vessel is protected for years to come? Whether you’re a first-time DIYer or a seasoned boat owner, the journey to a flawless finish always starts with the right steps—and a commitment to quality at every stage.
Sounds like a lot to remember? Here’s a quick checklist to keep your aluminum boat restoration on track:
Imagine the difference between a finish that peels after one season and one that turns heads for years. The secret? Investing in high-quality materials and leveraging proven expertise. For example, leading manufacturers like Shengxin Aluminum are known for their advanced production capabilities and commitment to excellence—providing extruded aluminum profiles and coatings that meet the highest standards. Using professional-grade products, whether you’re painting a small fishing boat or a custom-built yacht, ensures your hard work pays off in both aesthetics and longevity.
Does all this sound daunting? Remember, every great paint job is simply a series of small, careful steps. With the right information, patience, and materials, anyone can achieve a transformation that’s both beautiful and durable. The pride you’ll feel launching your newly restored vessel is well worth the effort.
Take pride in your aluminum boat restoration—and don’t hesitate to choose professional-grade materials for your next project. Your boat deserves nothing less than the best protection and finish you can provide.
Ready to start your next chapter? With a strong foundation in preparation, the right products, and a commitment to quality, your aluminum boat will deliver years of adventure, performance, and head-turning style on the water.
Only marine-grade paints specifically formulated for aluminum will adhere properly to aluminum boats. These paints are designed to bond with the oxide layer and resist corrosion, unlike regular latex or high-gloss paints, which can peel or flake quickly. Always use a dedicated aluminum primer before applying the topcoat for best results.
Yes, sanding is essential for proper paint adhesion on aluminum boats. Sanding removes oxidation and roughens the non-porous surface, allowing primer and paint to grip effectively. Start with coarse sandpaper (around 80 grit) and finish with finer grit for a smooth, ready-to-paint surface.
Painting aluminum without primer leads to poor adhesion, causing the paint to peel, flake, or blister rapidly. Primer creates a crucial bond between the metal and paint, prevents corrosion, and ensures a uniform, durable finish that stands up to marine conditions.
You can paint over old paint if it is in good condition, but all loose, flaking, or oxidized paint must be removed first. Bare aluminum areas should be primed with a self-etching or epoxy primer before applying new paint to ensure lasting adhesion and protection.
Maintain aluminum boat paint by rinsing with fresh water after each use, cleaning monthly with mild, boat-safe products, inspecting for chips or scratches, touching up damaged spots promptly, and applying a UV protectant or marine wax annually. Cover your boat during storage to protect the finish and schedule professional inspections for heavy-use vessels.


 un service en ligne
 0086 136 3563 2360
 sales@sxalu.com
 +86 136 3563 2360
 français
 English
 Deutsch
 русский
 español
 português
 العربية
 ไทย
ไทย Việt
Việt Українська