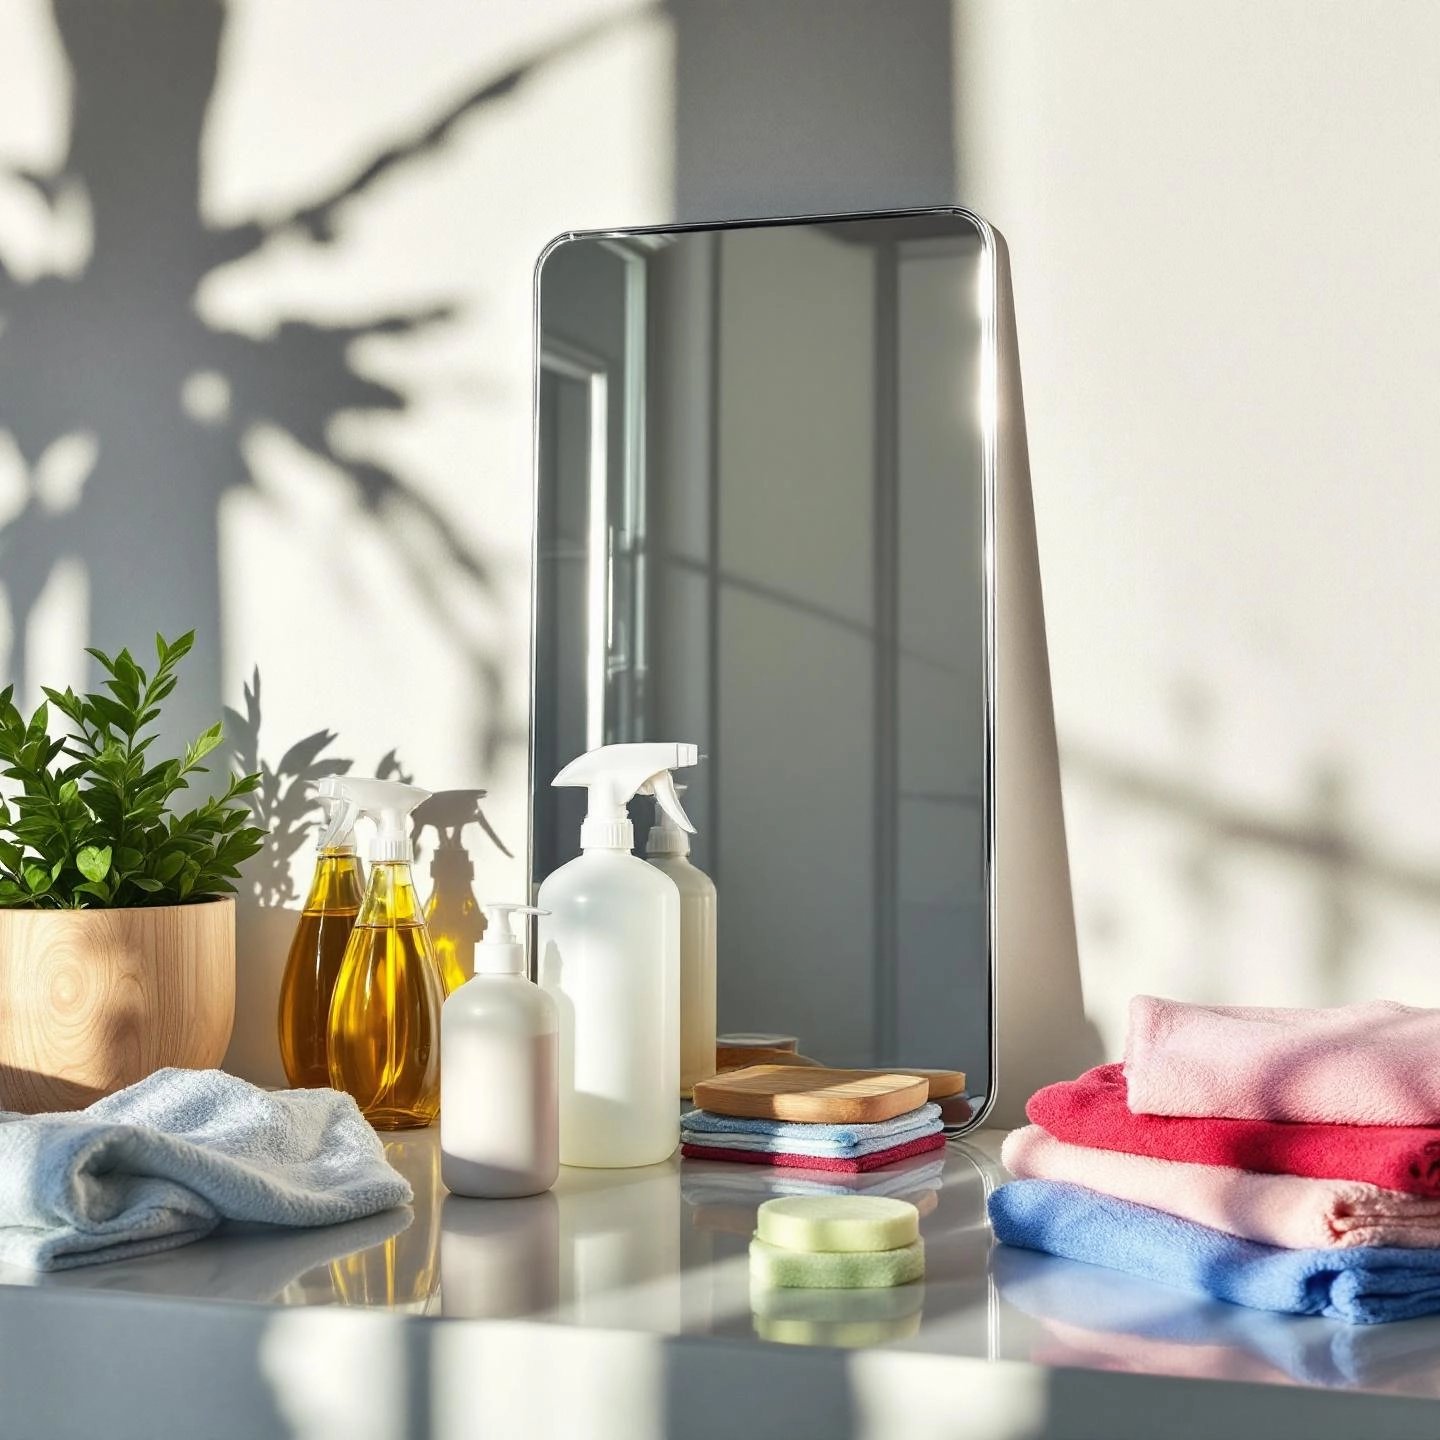
When you glance at a sparkling aluminum window frame or a gleaming kitchen appliance, you might wonder—how do they stay so bright and beautiful over time? The answer lies in the right care, and more specifically, in using the right cleaners for aluminum. While aluminum is celebrated for its natural corrosion resistance, it isn’t immune to the everyday challenges of dirt, grime, and oxidation. Over time, these elements can dull the surface, making even the most durable aluminum look tired and worn.
Sounds complex? Actually, it’s pretty straightforward. Aluminum forms a thin, protective oxide layer when exposed to air, which helps shield it from further corrosion. However, this layer can be compromised by environmental factors, like pollution, salty air, or even household spills. Without regular cleaning, you’ll notice:
Imagine leaving your car’s aluminum wheels unwashed after a winter drive—road salt and debris can quickly take a toll, leading to pitting and discoloration. Or think about aluminum window frames exposed to urban smog; without periodic cleaning, their appearance and performance suffer.
This is why selecting the right cleaning method is so important. The wrong cleaner can do more harm than good, stripping away protective coatings or scratching the metal. On the other hand, the right choice helps preserve both the look and integrity of your aluminum items—whether they’re household fixtures, vehicle parts, or architectural surfaces.
Ready to discover how simple maintenance can make a big difference? For a detailed guide on safe and effective cleaning techniques, including step-by-step instructions, recommended cleaners for different situations (like removing oxidation or grime), and tips to avoid common mistakes, explore our comprehensive resource.
In this blog post, you'll learn everything you need to know to keep your aluminum shining bright and performing at its best—no matter where it’s used.
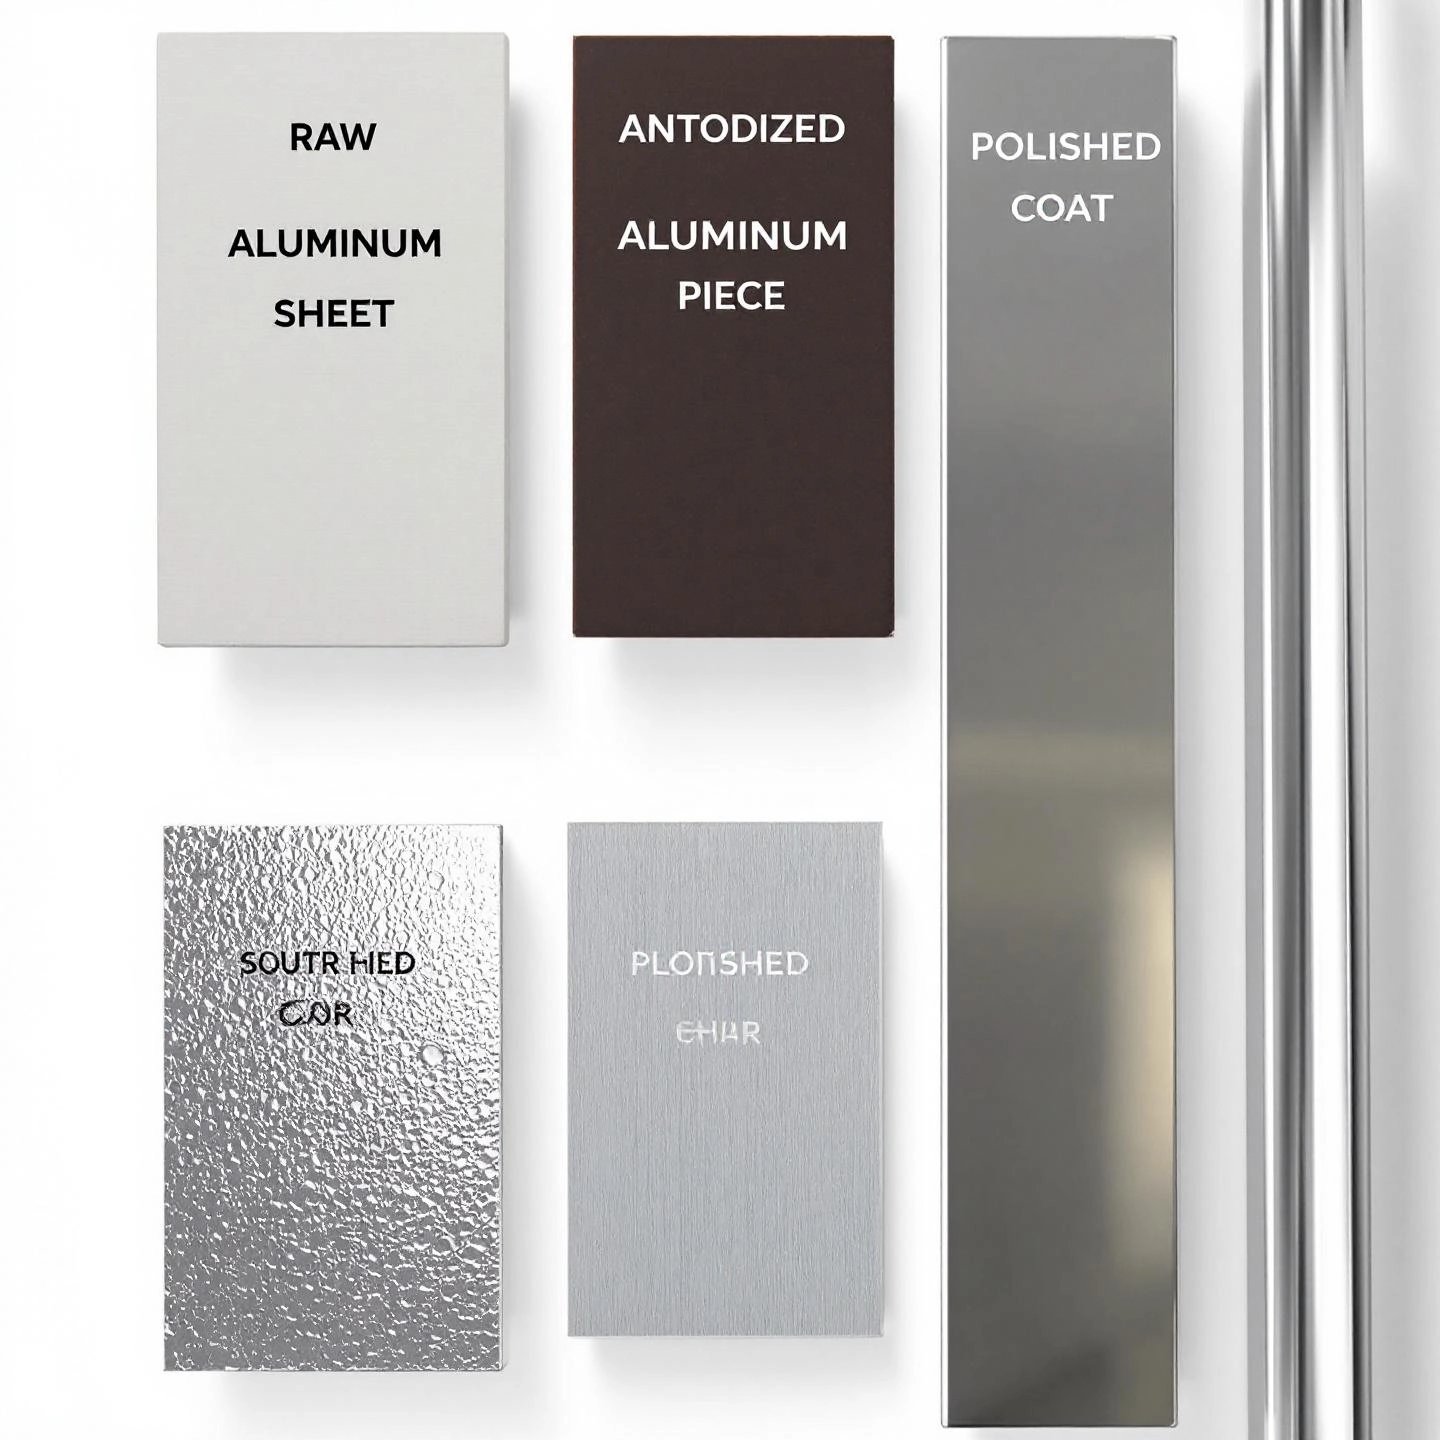
When you think of aluminum, you might picture a shiny metal surface—but did you know that not all aluminum looks or behaves the same? The secret lies in its finish. The types of aluminum finishes not only affect appearance but also determine how you should clean and care for each surface. Choosing the right cleaner isn’t just about removing dirt; it’s about protecting the finish and extending the life of your aluminum items.
Imagine you’re cleaning a set of patio doors, a bicycle frame, or a high-end architectural façade. Each could have a different finish, and using the wrong cleaner might dull, scratch, or even damage the surface. Here’s a breakdown of the most common finishes and what makes each unique:
Using the wrong cleaner on the wrong finish can cause permanent damage—think faded colors, etched surfaces, or loss of gloss. For example, strong alkalis can attack both painted and anodized finishes, while abrasives can quickly ruin polished or raw aluminum. That’s why it’s essential to understand the finish you’re working with before you reach for a cleaner.
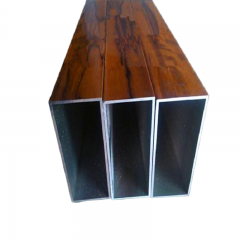
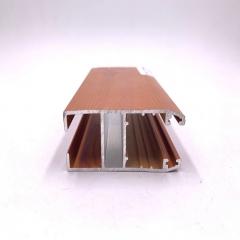
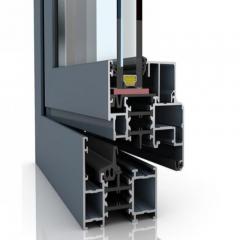
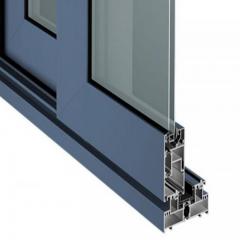
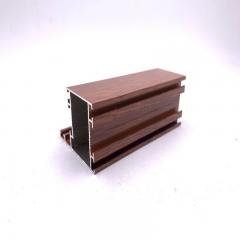
Premium aluminum products, such as those from Shengxin Aluminum, often feature advanced finishes like high-performance anodizing, powder coating, or even wood-grain sublimation. These finishes are designed for durability and aesthetics, but they also require specific care to maintain their appearance and protective qualities. Always consult care instructions provided by the manufacturer for best results.
Now that you know how different finishes call for different cleaning approaches, the next step is to decide whether to use a homemade or commercial cleaner—a choice that depends on your needs, preferences, and the type of finish you’re caring for.
When it comes to keeping your aluminum surfaces spotless, you might find yourself wondering: should you reach for a homemade aluminum cleaner or stick with a commercial product? The answer isn’t always straightforward—each approach has its own strengths and challenges. Let’s break down what you need to know so you can make the best choice for your home, vehicle, or workspace.
Imagine cleaning your kitchen sink, patio furniture, or car rims. Would you rather whip up a quick solution from pantry staples, or grab a ready-to-use product off the shelf? Here’s how these two options stack up across the factors that matter most:
| Factor | Homemade Aluminum Cleaner | Commercial Aluminum Cleaner |
|---|---|---|
| Cost | Very affordable; uses common household ingredients like vinegar, baking soda, or lemon juice. Great for those on a budget or cleaning frequently. | More expensive over time, especially for specialized or brand-name products. Convenience often comes at a higher price. |
| Effectiveness | Works well for general cleaning, light stains, and mild oxidation. May struggle with heavy grime, stubborn stains, or tough oxidation without extra effort. | Formulated for specific problems—some can tackle tough stains, oxidation, or grease more efficiently. Can include powerful agents for deep cleaning. |
| Safety | Gentler on skin, eyes, and lungs; fewer harsh chemicals and fumes. Lower risk of irritation or allergic reactions. | May contain strong chemicals like ammonia or bleach, which can irritate skin or cause respiratory issues. Always read labels and use with care. |
| Convenience | Requires time to mix ingredients and prepare each batch. Can be stored in advance but not as instantly accessible as store-bought sprays or wipes. | Ready-to-use; just spray, wipe, or pour. Saves time and effort, especially for quick jobs or when cleaning large areas. |
| Environmental Impact | Eco-friendly; uses biodegradable, non-toxic ingredients. Minimal impact on air and water quality. | Some products contain volatile organic compounds (VOCs) and harsh chemicals that can harm the environment if not used or disposed of properly. |
| Customization | Easy to adjust formulas for scent, strength, or sensitivity. You control what goes in. | Limited to what’s available on the market; some brands offer unscented or sensitive-skin options. |
So, which should you choose? If you’re tackling everyday messes or want a greener, gentler option, homemade solutions can be surprisingly effective. For tough jobs—like removing baked-on oxidation or restoring shine to neglected surfaces—commercial cleaners might be the better bet. Remember, always match the cleaner to your aluminum’s finish and your personal priorities.
With a clear sense of the trade-offs between homemade and commercial options, you’re ready to try your hand at making your own aluminum cleaner. Next, we’ll share some tried-and-true DIY recipes for every cleaning challenge.
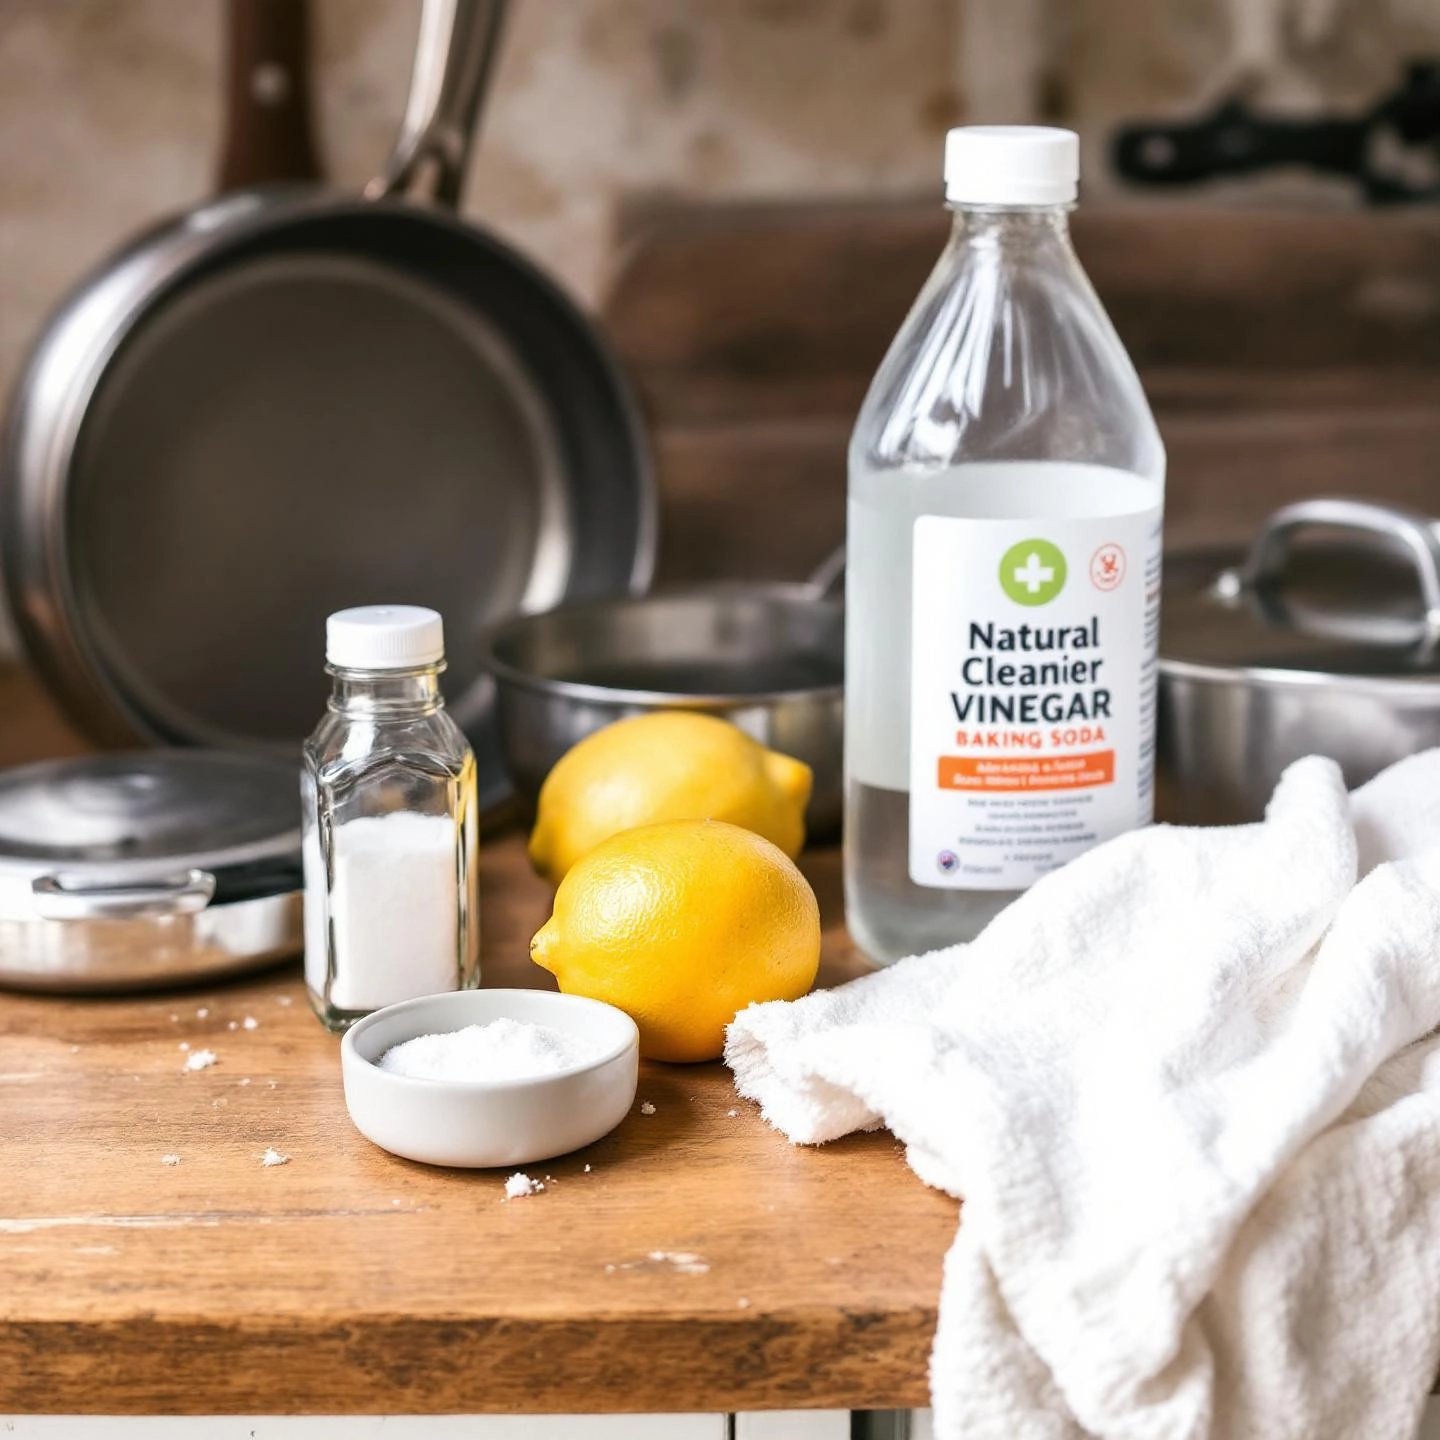
Ever wondered if you could restore the shine to your aluminum items without resorting to store-bought chemicals? Good news: you can! With a few pantry staples and the right approach, you can tackle everything from everyday dirt to stubborn oxidation. Whether you’re looking for a DIY aluminum cleaner or a gentle, natural aluminum cleaning solution, these recipes have you covered. Let’s break down the best homemade methods for every cleaning scenario.
When you’re dealing with light dirt or mild discoloration, this classic combo is your go-to. It’s gentle yet effective for most aluminum surfaces, from cookware to window frames.
Tip: This method is especially effective for removing the dullness caused by daily use or minor oxidation [Source].
When stains or oxidation spots appear, lemon’s acidity and salt’s gentle abrasiveness make a powerful team. This method is ideal for furniture, utensils, and even outdoor fixtures.
Tip: For a deeper clean, boil the other lemon half in water and use this lemon water as a rinse.
When oxidation leaves a chalky, white residue or your aluminum looks especially dull, a gentle paste can help lift the layer without scratching.
Tip: Always use a soft cloth or sponge to avoid scratching the metal surface.
For cookware with persistent stains or discoloration, a heated solution can work wonders.
This method is especially effective for restoring the luster to your favorite aluminum cookware.
Sounds unusual? Tomatoes and rhubarb are naturally acidic and can help clean smaller aluminum pieces.
This natural aluminum cleaning solution works well for utensils, small tools, or decorative pieces.
With these DIY aluminum cleaner recipes, you can confidently tackle any level of dirt or oxidation—no harsh chemicals required. Next, we’ll explore the world of commercial cleaners, helping you decide when a store-bought solution might be the right fit for your cleaning needs.
When you walk down the cleaning aisle or browse online, the sheer number of products labeled as cleaners for aluminum can be overwhelming. Which one is truly the best commercial aluminum cleaner for your needs? The answer depends on your aluminum’s finish, the type of dirt or oxidation you’re battling, and—most importantly—the product’s formulation. Let’s break down the main aluminum cleaner types so you can shop with confidence and protect your investment.
Imagine you’re restoring a weathered patio set, maintaining industrial equipment, or just keeping your kitchen appliances spotless. Not every cleaner is created equal! Here’s what you’ll find on the market—and how to match the product to your cleaning challenge:
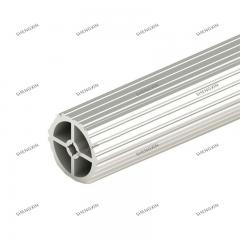
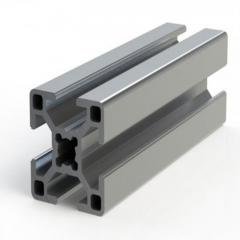
For high-value or specialized aluminum products—such as precision profiles used in transportation, infrastructure, or architectural projects—always follow the manufacturer’s care recommendations. For example, advanced finishes from leading manufacturers are engineered for durability but can be sensitive to harsh chemicals or abrasive techniques. When in doubt, start with the mildest cleaner and escalate only as needed.
By understanding the range of commercial aluminum cleaner types and reading labels carefully, you’ll protect your aluminum investments and keep them looking their best. Next, we’ll walk you through the step-by-step process to achieve a spotless, streak-free finish every time.
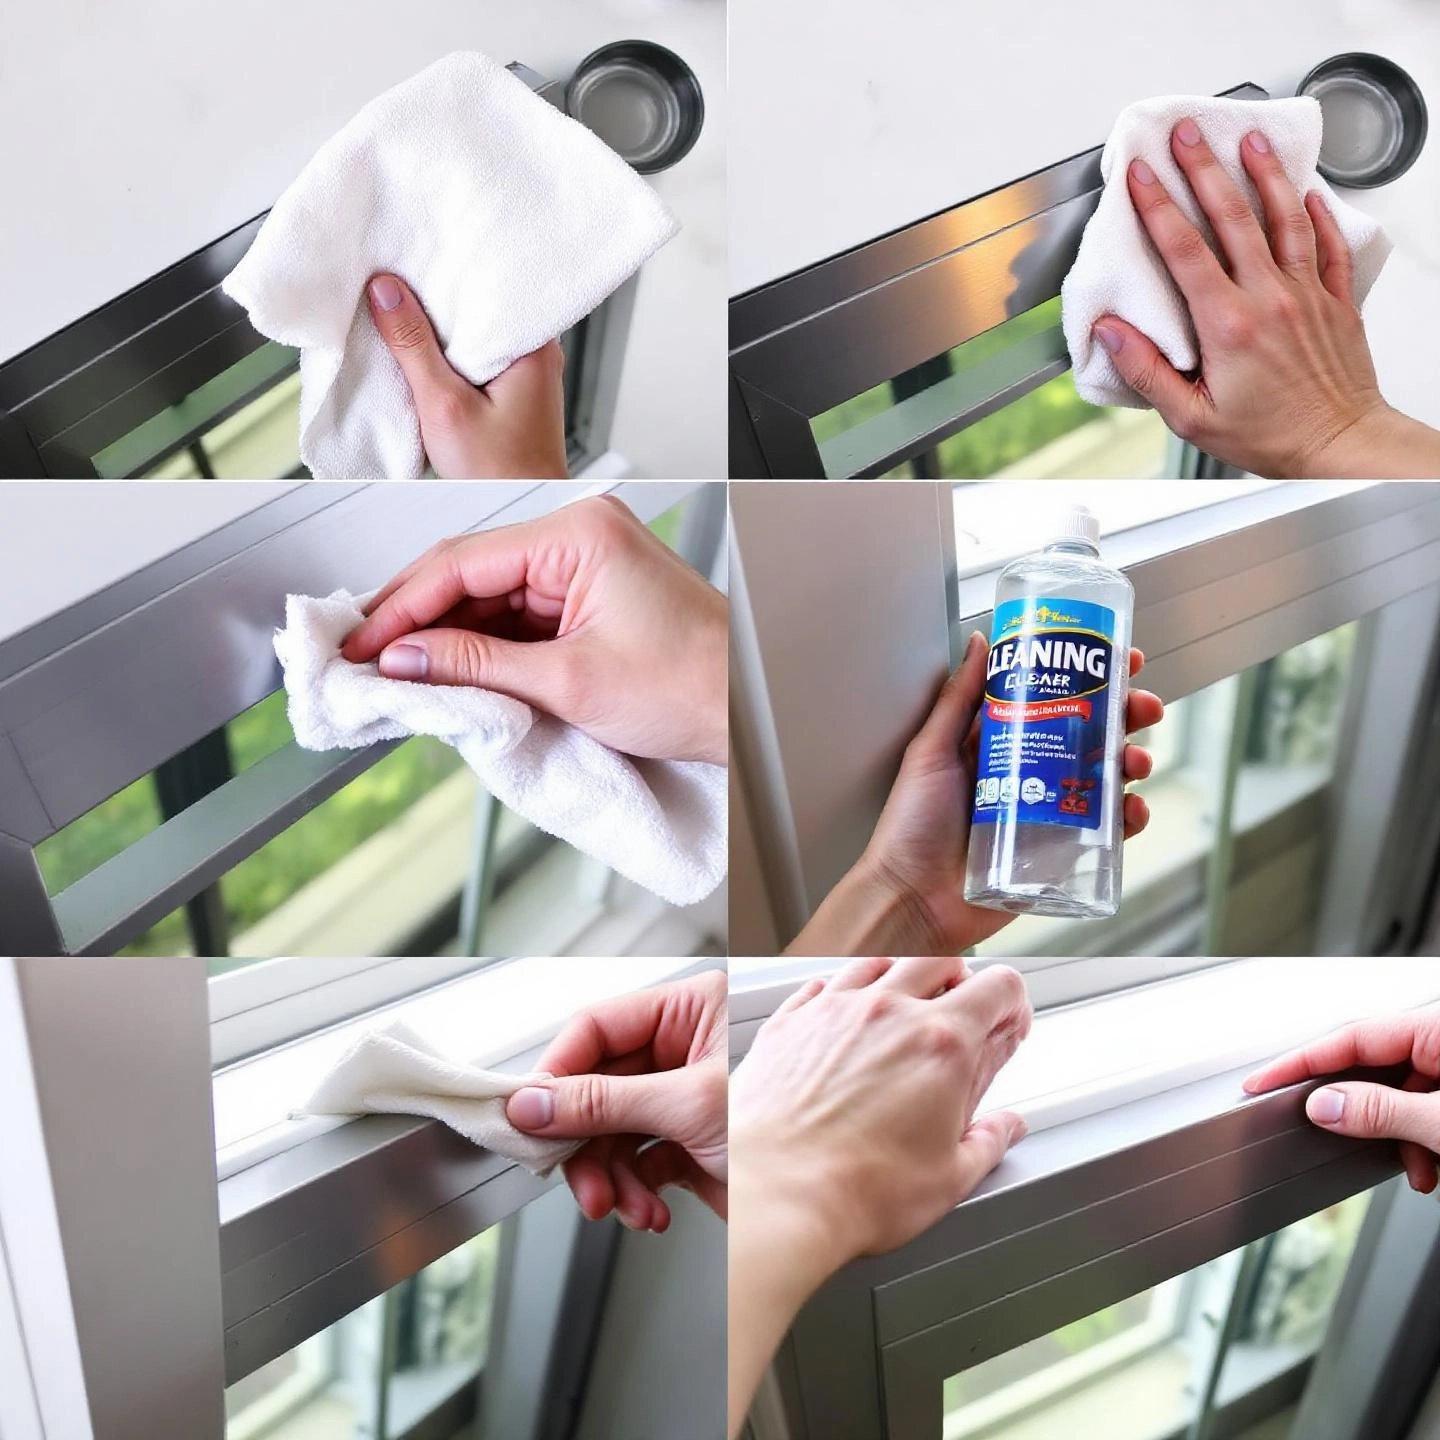
Ever wondered why some aluminum surfaces keep their shine for years, while others turn dull or develop unsightly spots? The secret isn’t just in the cleaner you choose—it’s in the cleaning process itself. Whether you’re caring for a kitchen pan, a window frame, or a specialized industrial profile, following the right aluminum cleaning steps makes all the difference.
Let’s break down how to clean aluminum so you get professional results every time. Imagine you’re about to restore the luster to an aluminum appliance or maintain the integrity of a high-performance profile—these steps apply to both household and industrial-grade aluminum:
| Step | What to Do | Why It Matters |
|---|---|---|
| 1. Preparation |
|
Prevents scratching from grit and ensures the cleaner contacts the metal directly. |
| 2. Choose the Right Cleaner |
|
Matching the cleaner to the aluminum’s finish protects the surface and maximizes cleaning power. |
| 3. Application |
|
Gentle, even pressure avoids scratches and ensures an even clean. |
| 4. Rinsing |
|
Prevents streaks, residue buildup, and potential surface damage. |
| 5. Drying |
|
Prevents water spots and oxidation, leaving a streak-free finish. |
| 6. Polishing (Optional) |
|
Restores luster and adds a protective barrier against future oxidation. |
By following these aluminum cleaning steps, you’ll not only restore shine and prevent damage but also protect your investment—whether it’s a household item or a specialized component engineered for performance. Ready to keep your aluminum spotless? Next, we’ll reveal common mistakes to avoid so you don’t accidentally undo your hard work.
Ever spent time cleaning aluminum only to end up with dull spots, streaks, or even scratches? You’re not alone. Aluminum is durable, but the wrong cleaning approach can easily do more harm than good. Before you reach for your favorite scrubber or cleaning spray, let’s break down the most common aluminum cleaning mistakes—and how you can sidestep them for a flawless, long-lasting shine.
Imagine restoring a set of patio chairs or giving your boat’s aluminum trim a fresh look. One wrong move, and you could end up with permanent damage. Here are the key pitfalls to watch out for:
| Mistake | Why It’s a Problem | Safer Alternative |
|---|---|---|
| Harsh abrasives (steel wool, rough pads) | Scratches, dulls, and damages protective layer | Soft cloths, microfiber towels, non-abrasive sponges |
| Acidic/alkaline/solvent-based cleaners | Corrodes, stains, or pits aluminum | pH-neutral or aluminum-specific cleaners |
| Letting cleaner sit too long | Etching, discoloration, or permanent marks | Follow timing instructions, rinse promptly |
| Not rinsing thoroughly | Residue buildup, streaks, or chemical reactions | Rinse with clean water after each wash |
| High-pressure washing | Dents, warps, or strips finish | Gentle water flow, manual scrubbing |
By steering clear of these common pitfalls, you’ll keep your aluminum surfaces looking their best for years to come. Up next, we’ll wrap up with key takeaways and some final tips to help you maintain that brilliant finish on all your aluminum items.
Ever wondered why some aluminum surfaces look as brilliant years later as they did on day one? The secret isn’t just in their material—it’s in how they’re cared for. From window frames to cookware and industrial profiles, maintaining aluminum finish is simple when you know what to do and what to avoid. Let’s wrap up with the key takeaways and some practical tips to keep your aluminum shining bright for the long haul.
Imagine the satisfaction of seeing your aluminum window frames, patio sets, or railings gleam in the sunlight year after year. With these simple habits, you’ll find that aluminum care tips are easy to follow and pay off with lasting beauty and function.
For those seeking not just longevity but also a standout aesthetic, advanced finishes—like high-performance anodizing or precision powder coating—make all the difference. Leading manufacturers, such as Shengxin Aluminum, offer aluminum profiles engineered for both durability and easy maintenance. Their state-of-the-art processes ensure that, with proper care, your aluminum surfaces will resist weathering, retain their color, and require minimal upkeep for years to come. This synergy between innovative aluminum technology and smart cleaning practices means your investment looks better, longer—making every cleaning session more rewarding.
With the right knowledge and a straightforward routine, caring for aluminum is anything but complicated. Start today, and enjoy the shine and performance that only well-maintained aluminum can deliver.
The best cleaner for aluminum depends on the surface type and level of dirt. For everyday cleaning, a mix of white vinegar and water is effective and gentle. For heavier oxidation, specialized commercial cleaners labeled as 'non-etching' and 'safe for anodized aluminum' are recommended. Always match the cleaner to your specific aluminum finish to avoid damage.
The best way to clean aluminum is to start by removing loose dirt, then use a soft cloth with a mild solution like vinegar and water or a pH-neutral soap. Rinse thoroughly and dry with a microfiber towel to prevent water spots. For stubborn stains, a paste of baking soda and water can help, but always avoid abrasive tools.
Avoid using abrasive pads, steel wool, or harsh chemicals such as bleach, ammonia, or strong acids on aluminum. These can scratch, corrode, or discolor the surface. Stick to non-abrasive cloths and cleaners specifically formulated for aluminum to maintain its finish.
WD-40 can help remove grime and add shine to aluminum, but it should not be used as a primary cleaner. It's best for light polishing after cleaning with a suitable aluminum cleaner. Always wipe off any excess to avoid residue buildup.
After cleaning, thoroughly dry the aluminum surface to prevent water spots and oxidation. For extra protection, consider applying a thin layer of aluminum polish or wax. Regular maintenance and using the right cleaning products will help preserve the protective oxide layer and keep aluminum looking new.


 un service en ligne
 0086 136 3563 2360
 sales@sxalu.com
 +86 136 3563 2360
 français
 English
 Deutsch
 русский
 español
 português
 العربية
 ไทย
ไทย Việt
Việt Українська